Table of Contents
Overview of Public Channels
Channels in the Roku Channel Store are certified before they are made available to the public. Some of the key benefits for public channels are:
- Featured in the New category for 30 days after publication
- Displayed in a Channel Store category (chosen during the submission process)
- Searchable by channel name in Roku Search
Channels with deep linking and have submitted a Roku Search feed can also support:
- Home screen banner promotions1
- Roku Search by content or person(s)
Prerequisites and Guidelines for Creating a Public Channel
To assure success in creating a Public Channel, you will need to:
- Create your design assets following Design and User Experience Guidelines.
- Go through the Channel Certification.
- Package your Roku Channel.
- Publish your Channel (this page).
Create a Public Channel
- On the Developer Dashboard, select Manage My Channels and Add Channel on the following page.
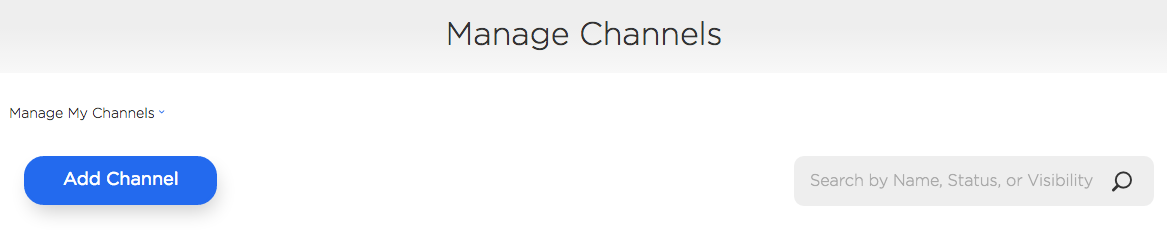
- Next, select Developer SDK, Public, enter a Channel Name and click Continue.

Properties Window
Fill out the following properties:
- Channel Stores: regions the channel will be available in
- Languages: Languages to localize the Channel Store poster, descriptions and screenshots for
- Required Features:
- USB Support: Select this only if the channel requires a Roku with a USB port to function
- Screensaver: Select this only if the channel is/contains a screensaver
- Roku Game Remote: Select this only if the channel requires a remote with A & B buttons to function
- Classification: Select the option that best describes the channel type
- Internet Connection Required: Yes/No
- CVAA Compliance: Yes/No
- Parental Hint: Select the best rating for the content in the channel. If unsure, select Content Not Rated.
- Vanity Access Code: Add a unique string of characters to make sharing the channel easier (ex. https://my.roku.com/add/myrokuchannel). The Vanity access code is only available after a channel has been published.

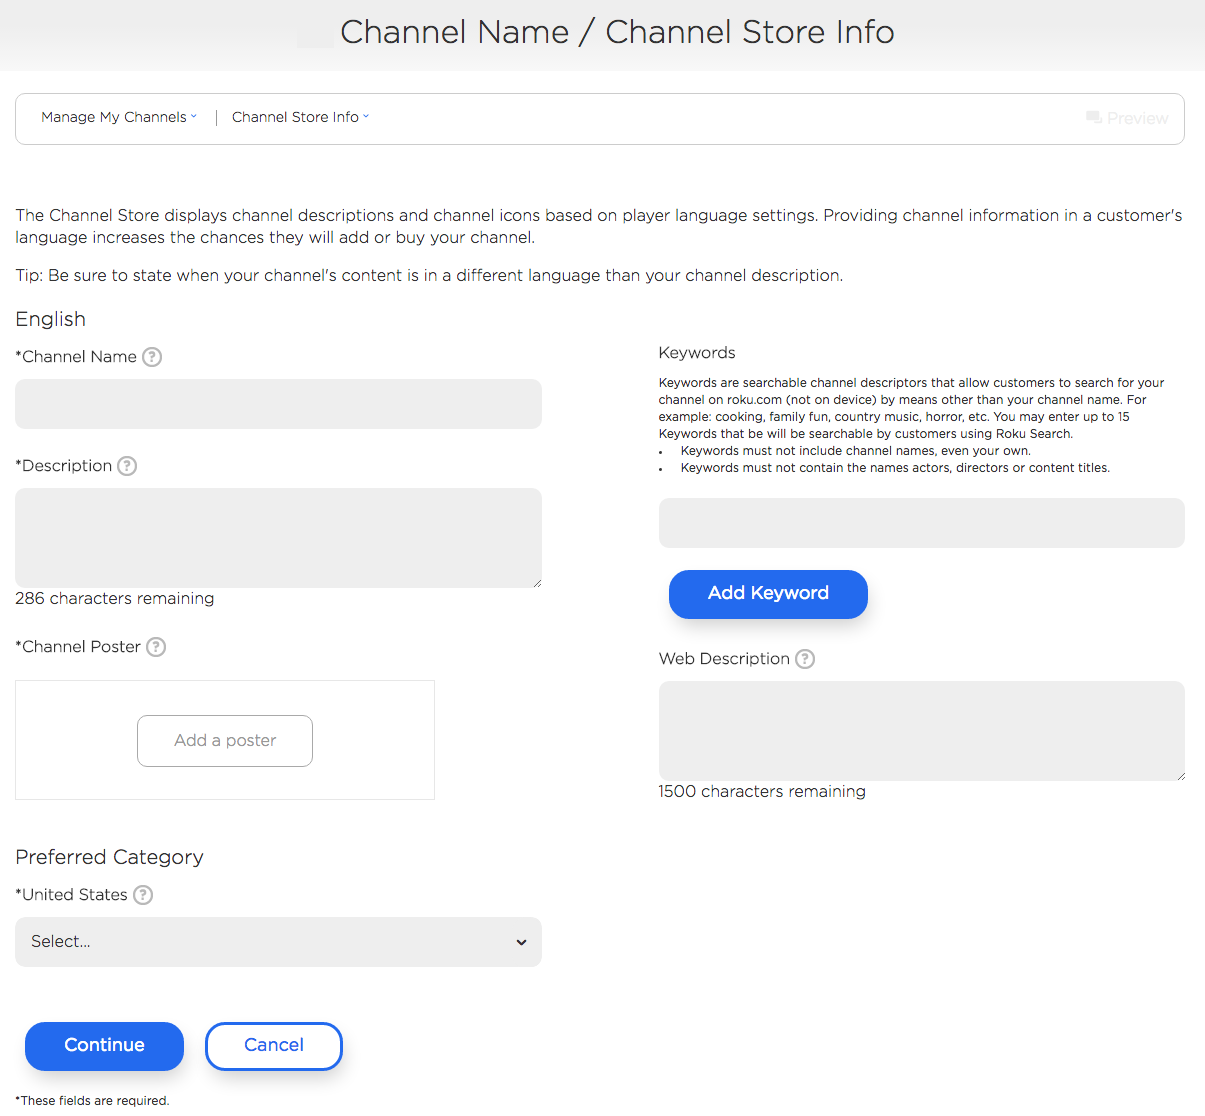
Channel Store Info Window
On the Channel Store Info page:
- Add Description
- Choose Preferred Category (Channel Store category for each region in the drop-down menu)
- Upload the Channel Store Poster (540x405).
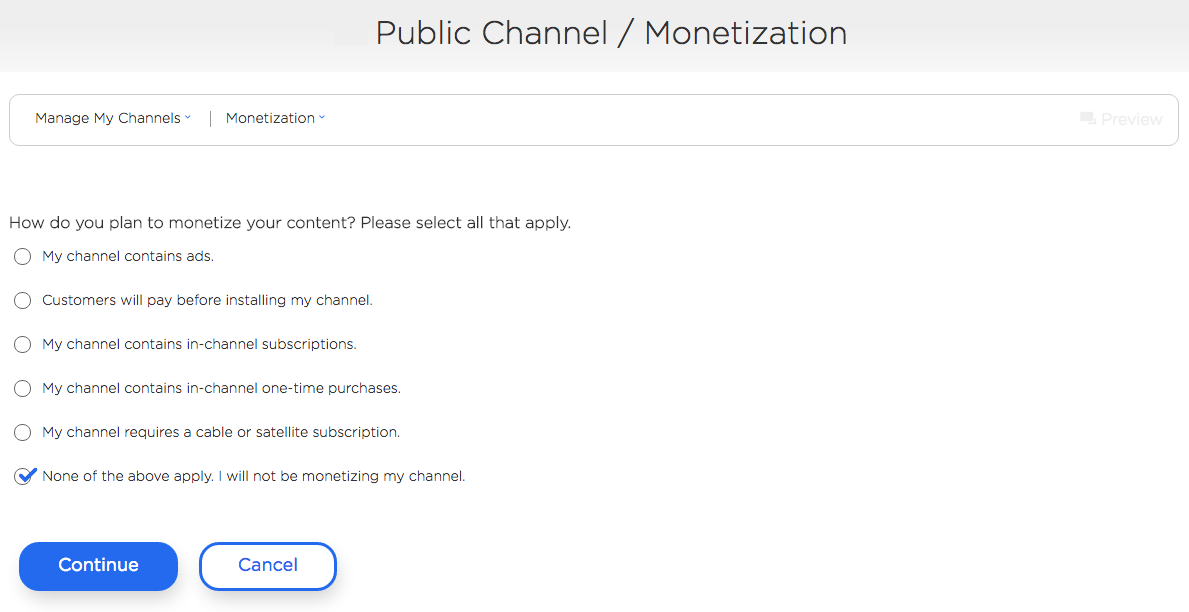
Monetization Window
On the Monetization page, select how you plan to monetize your channel. If your channel contains ads, it must use the Roku Ad Framework.
If Customers will pay before installing my channel is selected and you’ve enrolled in the Roku Partner Payouts Program, the Pricing section will be presented below.
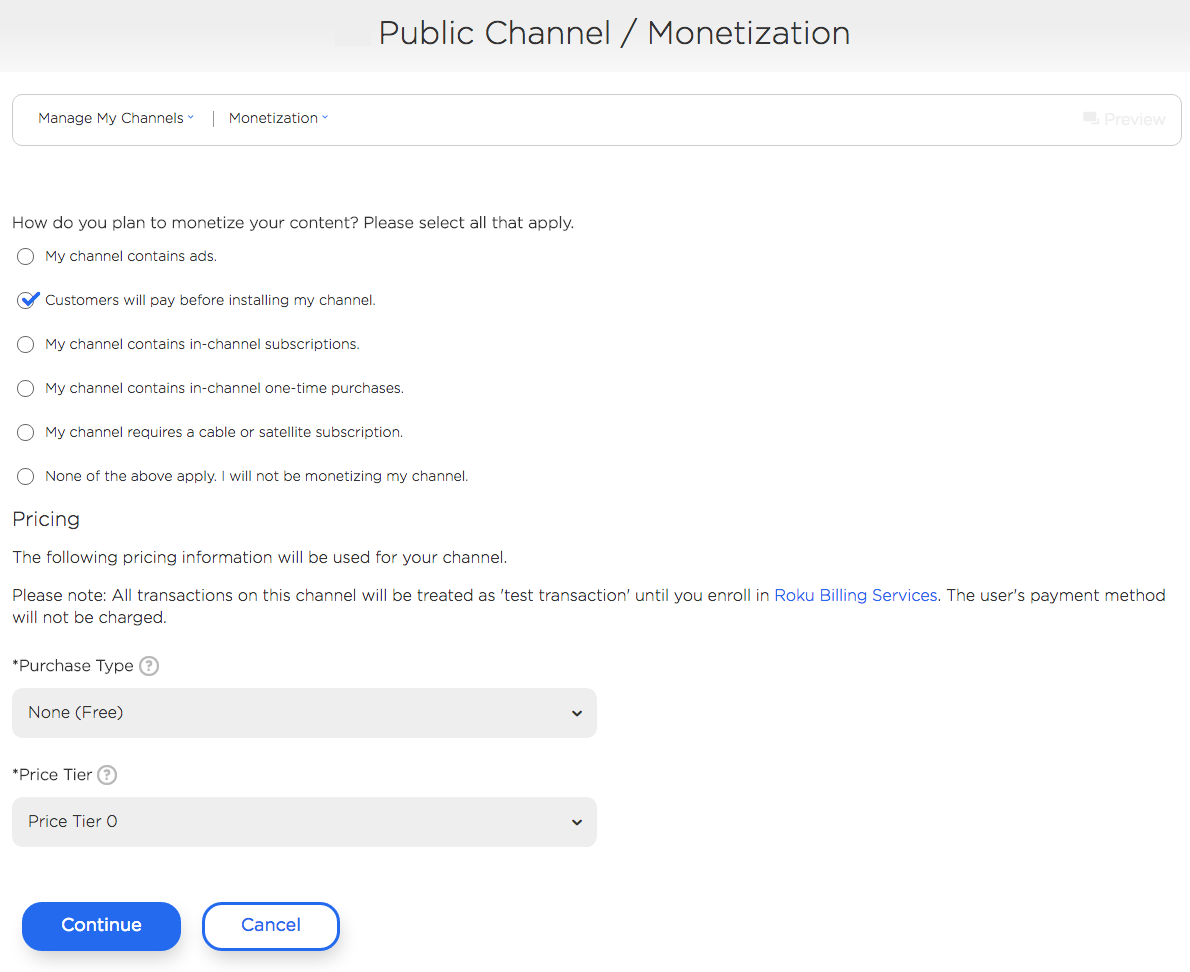
In this section, the type of pay-to-install model (one-time, monthly subscription or yearly subscription) and a corresponding price tier can be selected.
Screenshots Window
On the next page, upload any screenshots for display in the Channel Store. Up to 6 FHD (1920x1080) images can be uploaded for each locale.
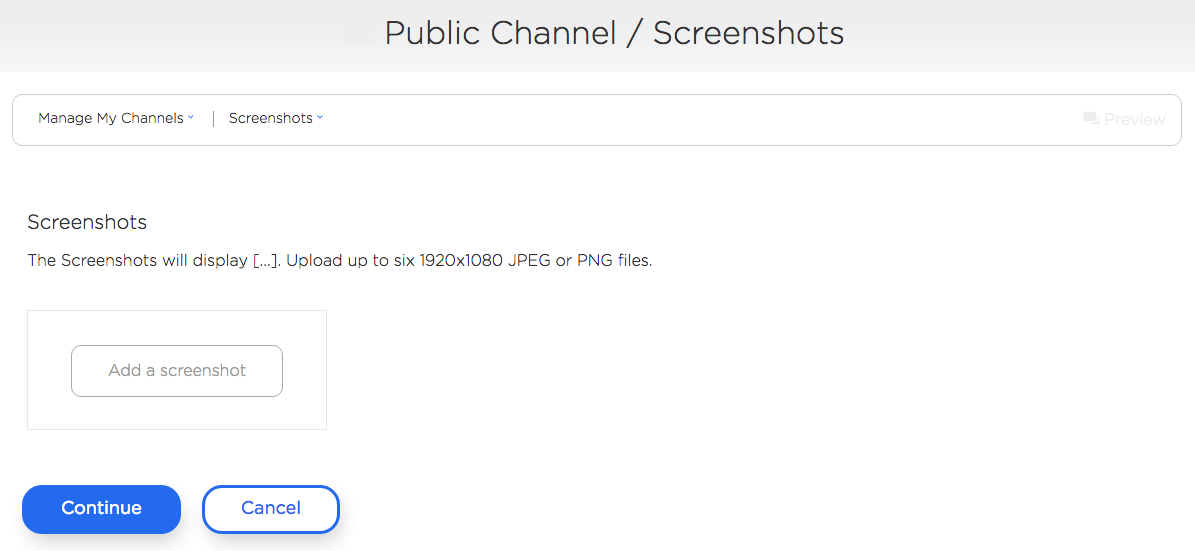
Once the screenshots have been uploaded, select Continue.
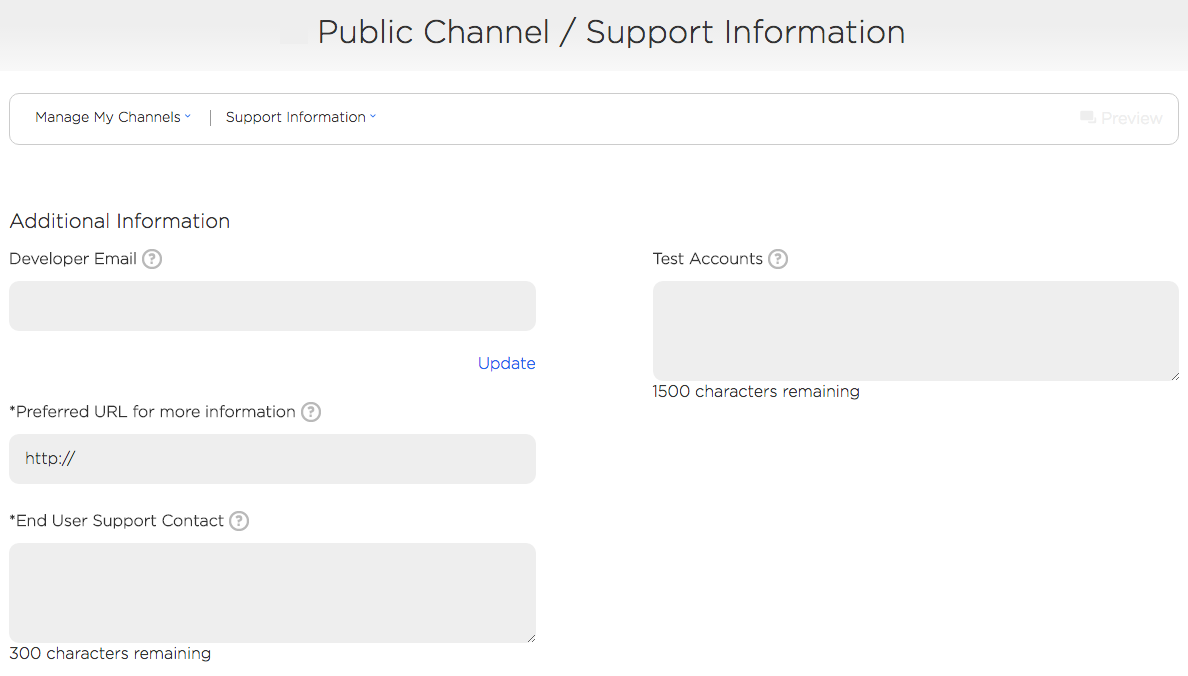
Support Information Window
Fill out the required contact and support information and any test accounts as needed for Roku to review your submission.
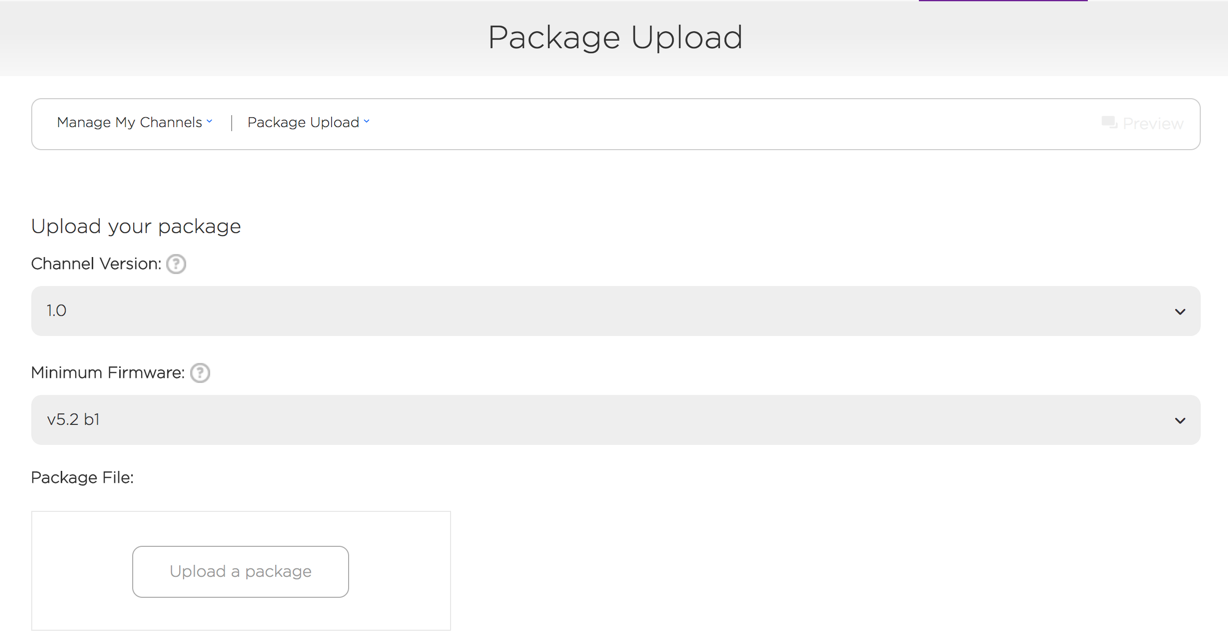
Package Upload Window
On the Package Upload page, select:
- Channel Version
- Minimum firmware version required to run the channel
- Application Package: Select signed package for publication
and then click Continue.
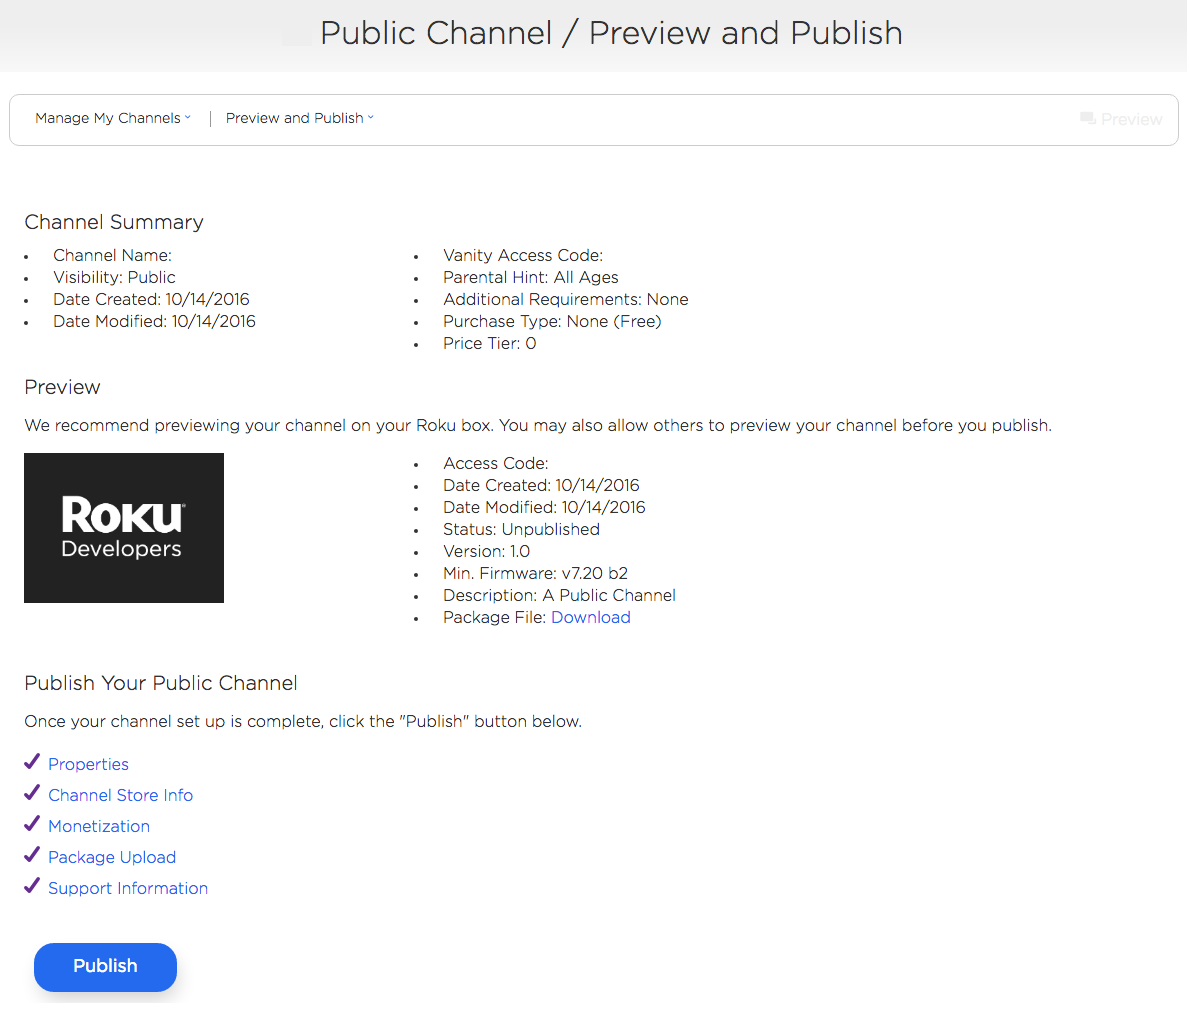
Preview and Publish Window
Before selecting Publish to submit for Roku certification review, you can select the access code to add the channel to your device and also make sure it has been thoroughly tested and reviewed against the pre-certification channel checklist.
Submission Survey Window
When ready, select Publish and fill in any Release Notes and Key Dates as necessary.
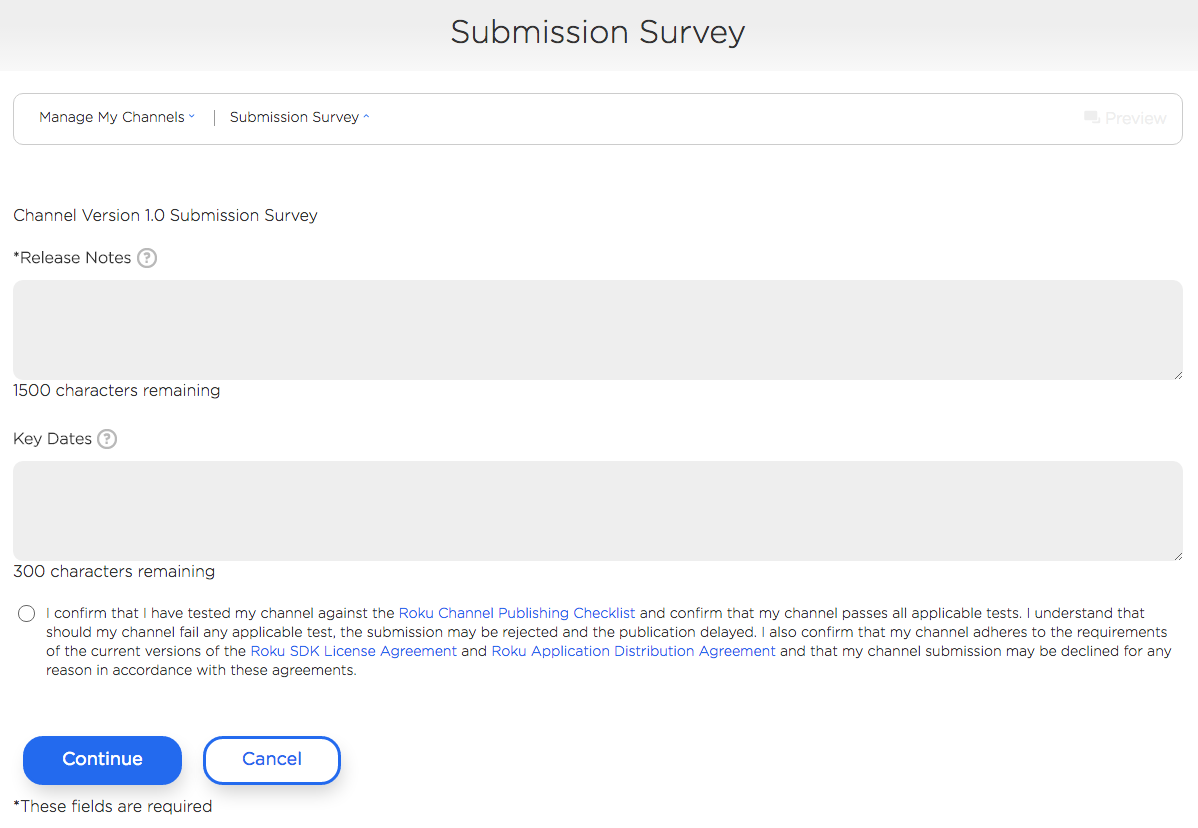
Select Continue to complete your submission and return to the Preview and Publish page.
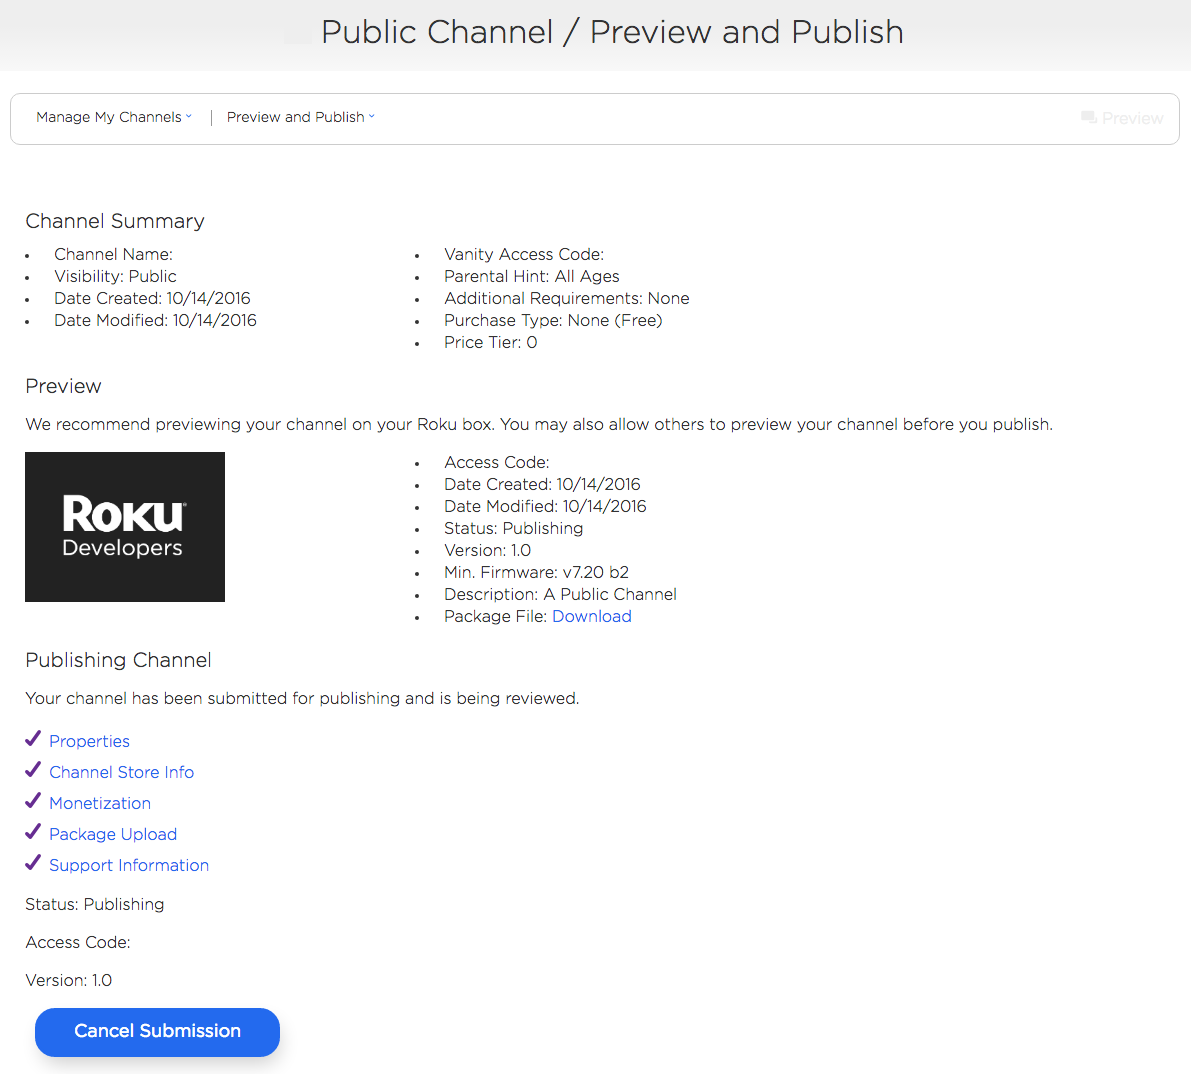
Once the channel has been submitted, it will be reviewed by Roku and:
- published if it has passed certification
- or you will receive a list of issues that need to be addressed before publication