Table of Contents
How to Create and Display Node Classes on the Screen
As described in SceneGraph XML Guide, there are three basic renderable node classes (node classes that draw on the display screen):
- Rectangle
- Label
Poster
Rectangle Markup
Example Application: RectangleExample.zip
Node Class Reference: Rectangle
The Rectangle node class is probably the simplest node to define using XML markup. A Rectangle node just draws a rectangular shape of a certain size on the display screen at a particular location. Because it is so simple, it's a great node class example to show how Roku SceneGraph XML markup is done.
In RectangleExample.zip, in the components/rectanglescene.xml component file, we create and show a simple rectangular shape:
The following are the important parts of this example that apply to all SceneGraph component XML markup:
Per standard XML practice, the XML declaration prolog is placed at the top:
<?xml version = "1.0" encoding = "utf-8" ?>
- The component to be defined and created in the XML file is named, and the class name the component is to be derived from is specified, in the <component> XML element:
<component name = "component_name" extends = "node_class_name" >
  <XML_element >
    element_definition
  </XML_element>

  <children>

    <Scene_Graph_node_1
      node_1_field_1 = "field_1_definition"
             ... />
    <Scene_Graph_node_2
      node_2_field_1 = "field_1_definition"
      ... />

    ...

  </children>

</component>
In the above example, the component to be created is named RectangleExample (component name = "RectangleExample"), which is extended from the Scene node class (extends = "Scene"). The example also includes a <script> element to include BrightScript code that:
- sets a background image for the component display screen
- centers the example in the display screen
- sets the remote control focus on a node or component in the component
<script type = "text/brightscript" >
  <![CDATA[
  sub init()
    m.top.backgroundURI = "pkg:/images/rsgde_bg_hd.jpg"
    example = m.top.findNode("exampleRectangle")
    examplerect = example.boundingRect()
    centerx = (1280 - examplerect.width) / 2
    centery = (720 - examplerect.height) / 2
    example.translation = [ centerx, centery ]
    m.top.setFocus(true)
  end sub
  ]]>
</script>
In this case, all of the BrightScript code is included in the init() function, which is used to set initial values for a component. This is typical practice for most SceneGraph XML markup, and is included in most of the example applications in this tutorial. See SceneGraph XML Reference, specifically <script>, and init(), for more information.
Next, there is a <children> element. This is added to make XML schema validation (if used) work using an XSD file. XSD validation requires that the order of elements be deterministic, and thus for validation to work, SceneGraph node elements need to be wrapped in an element themselves.
Finally, the Rectangle node itself is defined as follows:
- The rectangle is given an ID of
exampleRectangle, to allow the node to be targeted by non-renderable nodes (such as Animation node classes) and BrightScript code:
id = "exampleRectangle"
- The width of the rectangle is set to 512 pixels, which is designed to occupy a certain portion of an HD (1280x720) UI resolution display space:
width = "512"
- Likewise, the height of the rectangle is set to 288, for a certain size in an HD display space (if the application is running in a FHD (1920x1080) UI resolution, the rectangle will be automatically scaled 1.5 times to occupy the same relative screen space):
height = "288"
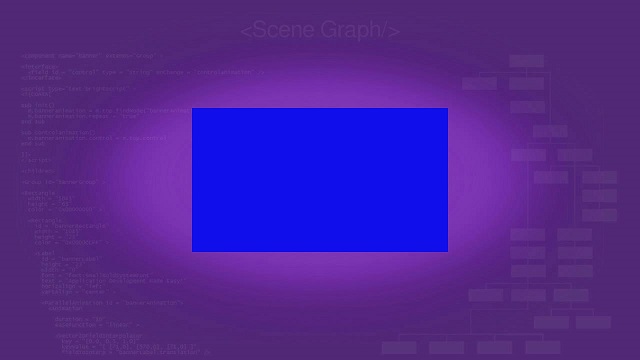
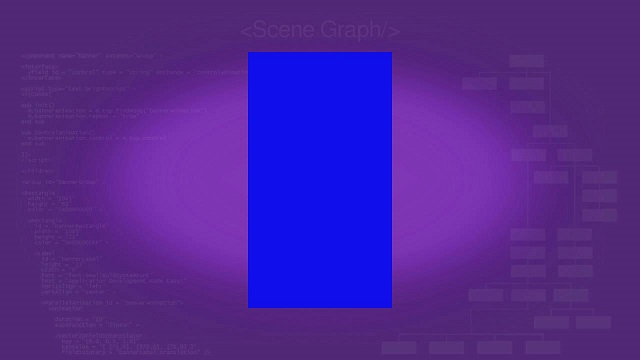
- The color of the rectangle is set to blue:
color = "0x1010EBFF"
And the result on the display screen is:
Rotated Renderable Nodes Markup
Example Application: RectangleRotatedExample.zip
Node Class References: Group (Rectangle, Label, Poster)
Roku SceneGraph allows you to rotate renderable nodes and groups of nodes by arbitrary amounts, depending on the Roku Player (some Roku Players may not allow arbitrary rotation amounts, and some many not allow rotation of any or all of the renderable node classes).
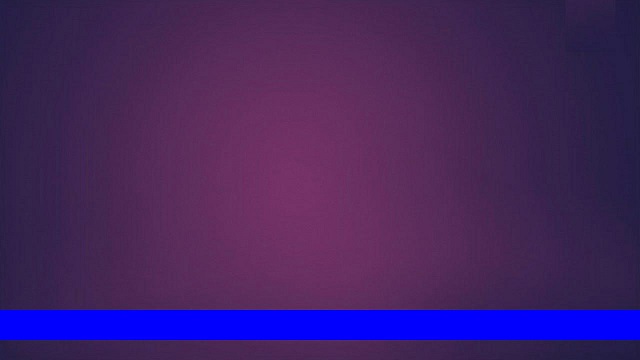
RectangleRotatedExample.zip rotates the same size and shape rectangle shown in Rectangle Markup by 90 degrees. To do this, we add two fields to the Rectangle node markup, one to specify the center about which the rotation will occur, the other to actually rotate the node:
<Rectangle
  id = "examplerotatedRectangle"
  width = "512"
  height = "288"
  scaleRotateCenter = "[ 256.0, 144.0 ]"
  rotation = "1.5707963268"
  color = "0x1010EBFF" />
We set the scaleRotateCenter field value to [256.0,144.0] to make the center of the 512x288 rectangle the center of rotation. Then we actually rotate the rectangle by setting the rotation field value to 1.5707963268, which is a close enough approximation in radians to 90 degrees (you probably could make it even closer!):

Note that we use slightly different code in the init() function to center this example in the HD UI resolution display screen. Instead of the boundingRect() method we use for almost all other examples in this tutorial, we use the related localBoundingRect() method:
examplelrect = example.localBoundingRect()
centerx = (1280 - examplelrect.width) / 2
centery = (720 - examplelrect.height) / 2
example.translation = [ centerx, centery ]
Because the rectangle translation coordinates and bounding rectangle dimensions rotate along with the rectangle, the localBoundingRect() method is needed to find the new values.
Label Markup
Example Application: LabelExample.zip
Node Class Reference: Label
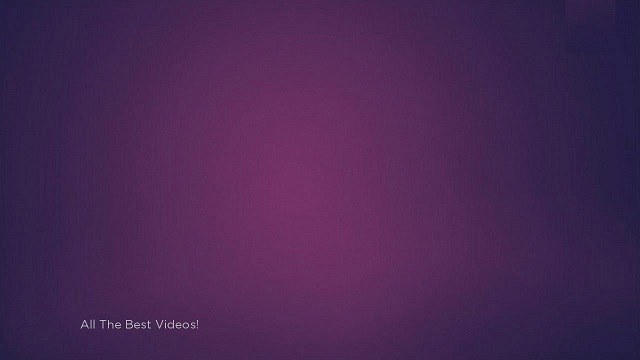
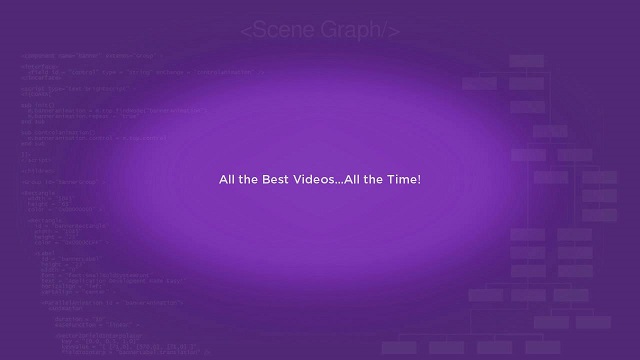
The Label node class writes text in a specified position on the display screen. The LabelExample.zip example writes All the Best Videos...All the Time! on the display screen. The Label node is defined in the component XML file as follows:
<Label
  id = "exampleLabel"
  width = "512"
  height = "44"
  font = "font:MediumBoldSystemFont"
  text = "All the Best Videos...All the Time!"
  horizAlign = "center"
  vertAlign = "center" />
There are a few things to note about the Label node definition:
- Again, in this case, we want to define an ID to allow other non-renderable nodes, such as Animation node classes, to target the node:
id = "exampleLabel"
- We define a
heightfield value of 44, and a width field value of 512, to set these explicitly (the Label node is able to calculate these values based on the text string to be shown and the font:
width = "512"
height = "44"
- We use a slightly bolder version of the default Roku SceneGraph font:
font = "font:MediumBoldSystemFont"
- We define the text string to be shown on the display screen:
text = "All the Best Videos...All the Time!"
- We define the position of the text to be horizontally centered in the 512 HD UI resolution pixels label area, and centered within the specified height of 44 HD UI resolution pixels:
horizAlign = "center" vertAlign = "center"
And after the standard example centering in the init() function, the result on the display screen is:

Poster Markup
Example Application: PosterExample.zip
Node Class Reference: Poster
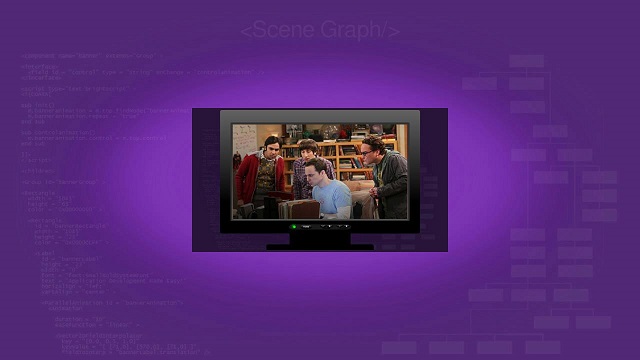
The Poster node class draws a graphic image file in a specified location on the display screen. PosterExample.zip draws the videopg.jpg graphic image file located on our SDK development server:
<Poster id = "examplePoster" width = "512" height = "288" uri = "http://sdktestinglab.com/Tutorial/images/videopg.jpg" /> |
|---|
This simple example shows close to the minimum amount of markup required to draw a graphic image file on the screen:
Again, if we ever want to target this node with another node class or BrightScript code, we assign an ID for the node:
id = "examplePoster"
In this case, we set the width and height of the image to be drawn on the screen to the pixel width and height of the graphic image file itself, which is generally the best way to draw the clearest image on the screen (though the Poster node class does include automatic scaling for image size specifications that do not match the pixel dimensions of the graphic image file, and by default, if
widthandheightfield values are set to 0, the image is drawn to the pixel width and height of the graphic image file itself after the image is loaded):width = "512"height = "288"
Of course, we need to specify the URI path to the graphic image file (this could be any valid URI including a file from the package
imagesdirectory):
And the result on the display screen is:
There are several more fields that could have been set for this image to control both the scale and the opacity of the image. But for now, we will'll just get the image on the screen, and the Poster node class reference has complete information on all the fields that could have been set. However, as you go through the rest of the tutorial, you may notice that the dimensions of this example are duplicated in later examples, as are the dimensions of all the previous simple examples we've seen so far. There's actually a reason for this, you'll see why as we continue with the tutorial...